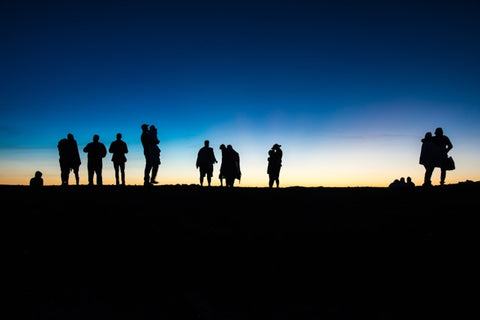
Photography Hikes: Haleakala National Park

Throughout our ‘Photography Hikes’ blog series, we’ve taken you through some pretty special and unique places. One thing that links them all, however, is the start-point. For the majority of these hikes, you start somewhere pretty cool, but then make your way toward something incredible -- a stunning viewpoint, or a gorgeous waterfall. In this blog, however, we thought we’d switch it up a bit.
The Hiking Trail: Haleakala National Park
The hike we’re going to talk to you about is based in Haleakala National Park, in Hawaii. We all know how beautiful Hawaii is. Filled with gorgeous beaches, stunning rainforests and scenic cities, this is a small, unassuming state that somehow forms its own magnificent paradise. Heck, this is the eighth smallest state in the USA, but it manages to fit in a total of fifteen volcanoes. That’s quite something. Especially considering we’re going to start you on one of them!
That’s right, this hiking trail is known as the Skyline Trail, and it starts on the summit of Haleakala Volcano in the southwest of Haleakala. For the photographer, this gives you about a hundred photographs for your Instagram photo book right out of the gate. But you can’t stop there, of course, because you’ve got a round-trip of around 8 miles all the way down to the bottom.
Why It’s Good
The reason the Skyline Trail is so good is because, somehow, it doesn’t start with its best feature. Sure, you might begin with a 360 view of the park, with a layer of thin clouds circling below you. But the hike only gets better than there.
For the full 8 miles, you’ll be walking toward those clouds until you pass right through them. Near the midway point, you’ll have some stunning, clear views of the Big Island, Mauna Kea, Mauna Loa, before you pass alongside numerous cinder cones and lava flows to reach the jaw-dropping Kula Forest Reserve, which is full of amazing plants and flowers, as well as some unique wildlife.
What to Look Out For
Speaking of this wildlife, there will be plenty to spot throughout the trail. Because it’s one of the most geographically isolated islands in the world, Hawaii is home to quite a few rare and unique animals, all of which are just waiting to be photographed. These animals – including some non-native animals – include:
- The Pueo – Sacred Owl
- The Ua’u – Hawaiian Petrel
- The Hawaiian Bat
- Nene – Hawaiian Goose
- Chukars
- Mongoose
- Chameleon
- Gecko – 7 Species of Them!
Photography Tips
You will start this hike by parking on the summit of Haleakala Volcano – in the summit parking area at Pu’u Ula ‘ula. After you park, you will descend to the bottom, before ascending to get back to your car. So it's fair to say that this is a challenging hike, and it's even more challenging for a photographer. With this in mind, here are two of our top tips to make the most out of it:
-
Prepare for Water
The first thing you should be prepared for is water. The weather in Haleakala is generally fair, but it can get cold, windy and rainy near the summit. Learning to take good photographs in the rain isn’t so much a problem – we’ve written a blog about it for those who are unfamiliar – but you should make sure to bring the appropriate equipment, including a waterproof bag, touchscreen gloves, and a lens cloth, just in case the moisture clouds your vision.
-
Conserve Your Energy
One of the biggest dangers of this hike is that you start high, and then descend until you decide to turn back around. In this way, you need to conserve your energy to hike back to the summit. This means choosing a good route. In our opinion, the best route is west of the parking area, which takes you toward a complex of telescopes.
As you begin descending, you will go through a gate onto state land, and here you'll have stunning photography opportunities, including views of West Maui – depending on whether it’s a clear day or not. After this, you can descend past cinder cones and lava flows to Kula Forest Reserve, and then turn around to retrace your steps.
Photography Challenges
If you choose to go this route, you’ll have the best chance of some stunning photographs and a hike that’s not overly straining. As well as these opportunities, however, the trail will offer up a few challenges. We’d recommend taking at least two of these on, especially if you’re looking to upload your photographs to our photo book maker. We only take the best. Well, not really, but it's good to upload your best ones all the same! So here are two challenges we think you should prioritise:
-
Golden Hour Exposure
Cinder cones – or ‘scoria cones’ if you want to get all technical about it – are the cones formed around volcanic vents. You’ll come across many of them on your hike, and the best time to photograph them is around the golden hour when – hopefully! – the sun is casting gorgeous shadows across the plains, while the tips of the cones are cast in gold. A good way to take advantage of this is by increasing your shutter speed to play with the exposure, adjusting how bright the cones get when reflecting the light.
-
Depth of Field


